Step 1
Step 2
Step 3
Step 4
Step 5
Step 6
Step 7
Step 8
Step 9
Step 10
Step 11
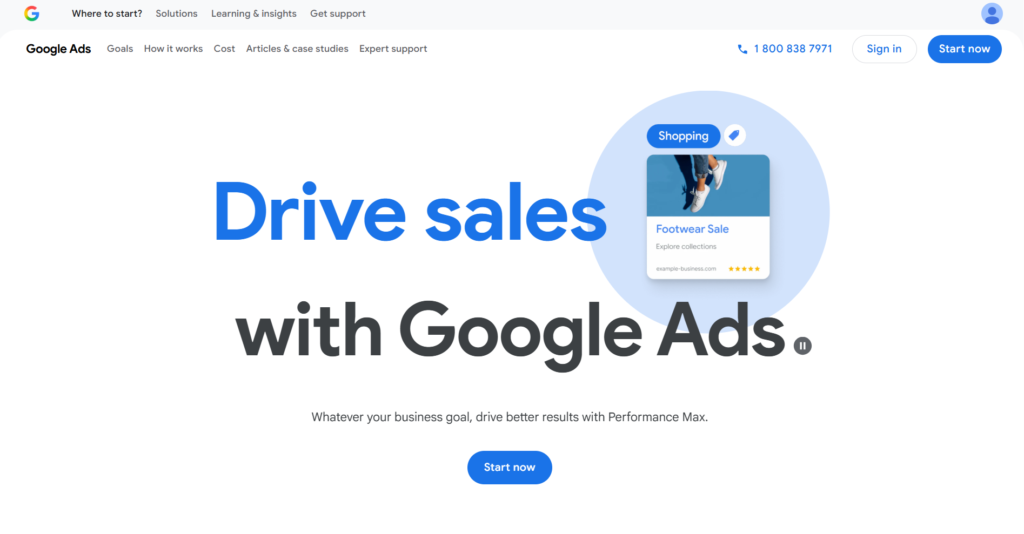
Step 1 - Go to
ads.google.com
Click start now
Next Step
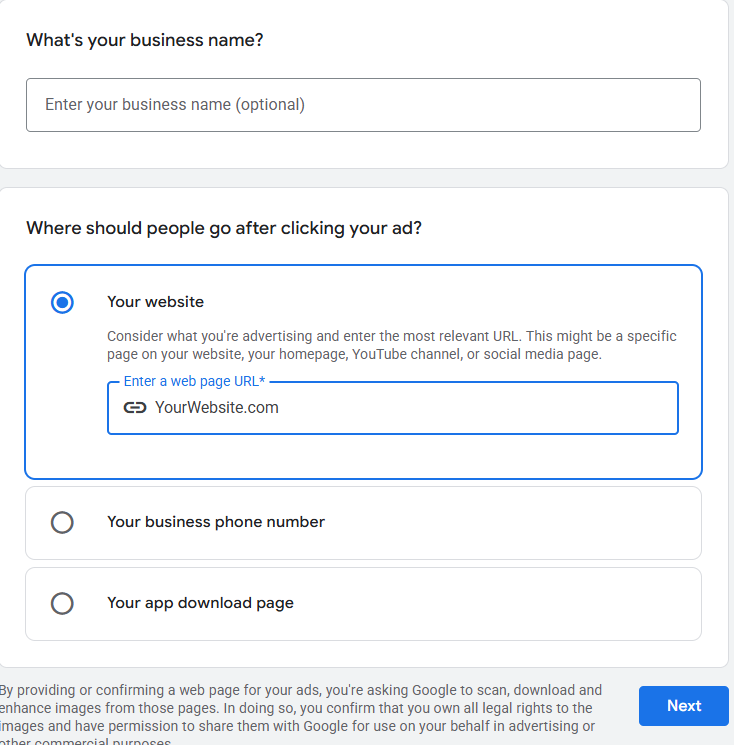
Step 2 - Enter your Website URL
Skip everything else and click next
Go Back
Next Step
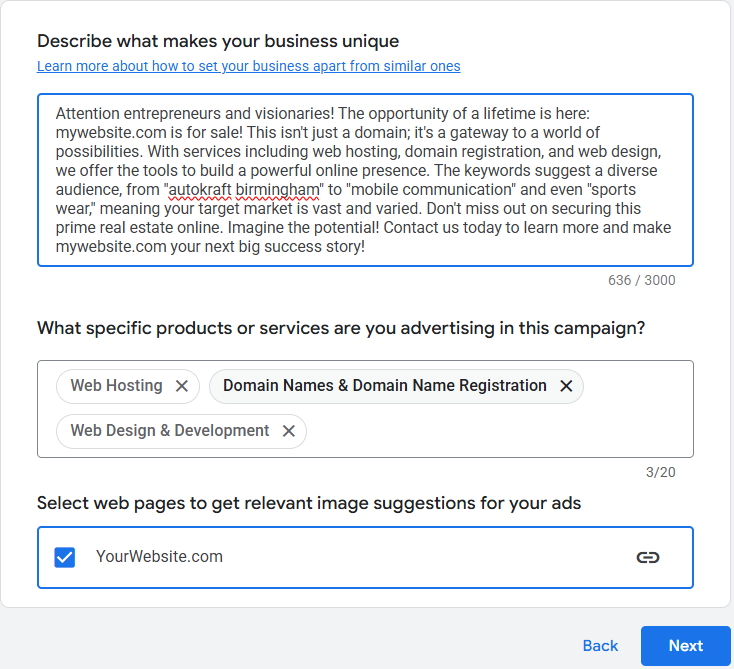
Step 3 - Click Next
Google will autofill this info for you. We will change it later. Click next.
Go Back
Next Step
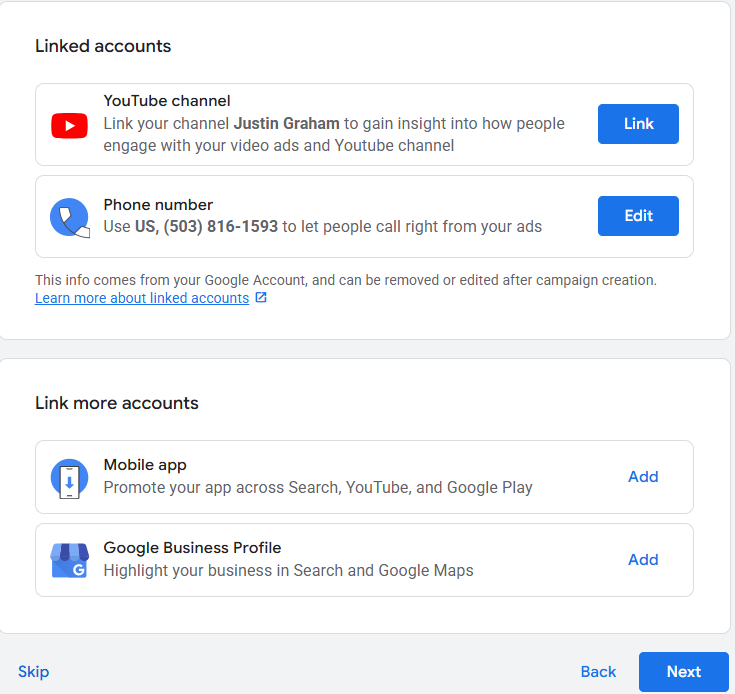
Step 4 - Click Skip or Next
This is info we will link intentionally later on. Click skip.
Go Back
Next Step
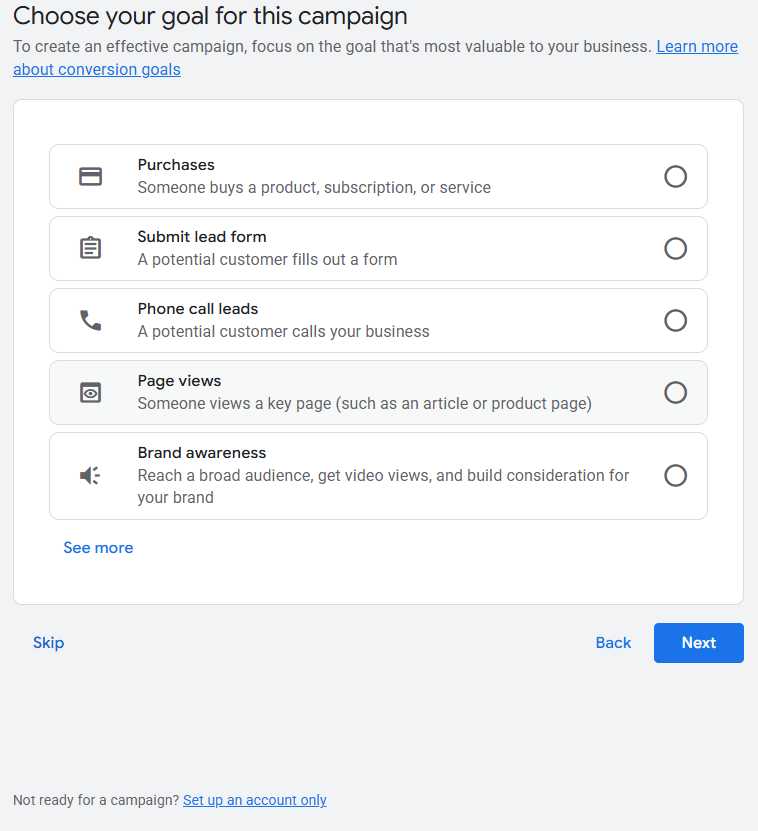
Step 5 - Click "SET UP AN ACCOUNT ONLY"
IMPORTANT
- At this point, Google will give you the option to skip setting up a campaign and to set up an account only.
Choose this option by clicking the blue link in the bottom left corner shown in the image below.
If you accidentally set up a campaign at this step, you risk wasting money on an improperly configured campaign.
Go Back
Next Step
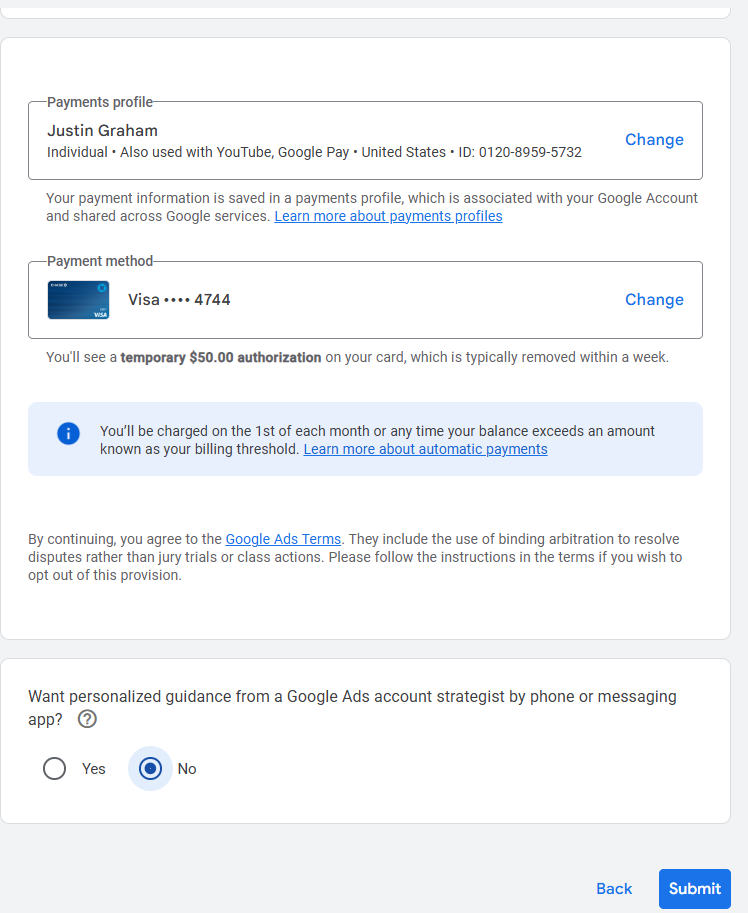
Step 6 - Add you Preferred Payment Method
This is the payment method that Google will charge for ad spend.
Ensure that it is correct, selct
"No"
in the "want personalized guidance" section below, and click submit.
Go Back
Next Step
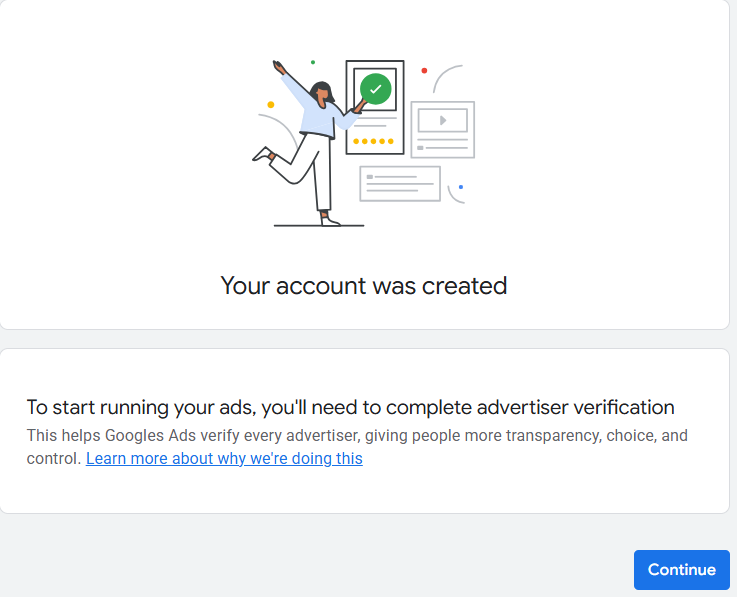
Step 7 - Click Continue
Go Back
Next Step
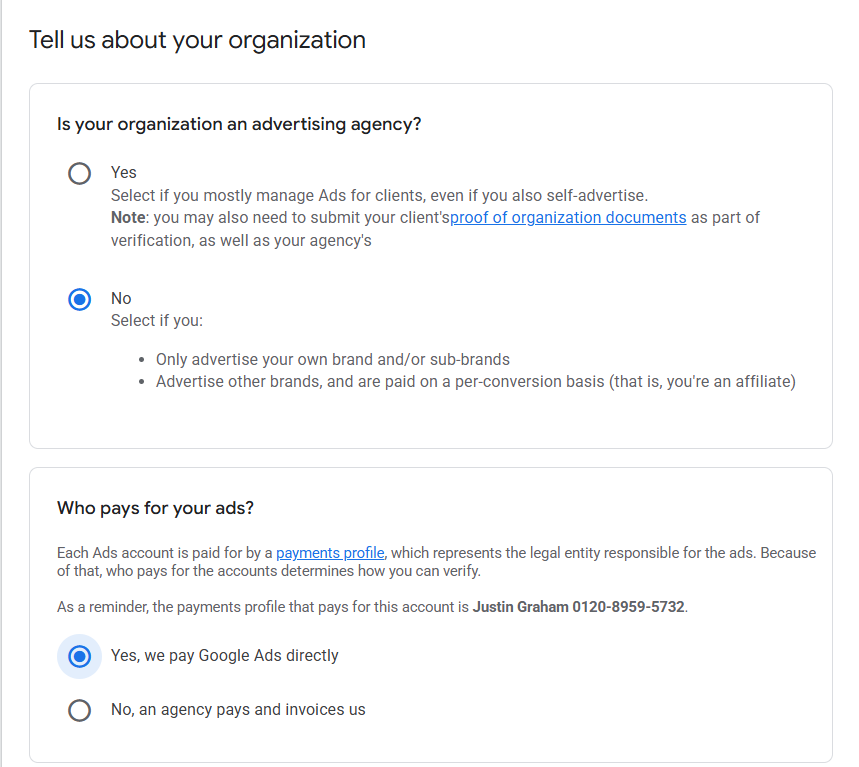
Step 8 - Fill out the form as shown below
Go Back
Next Step
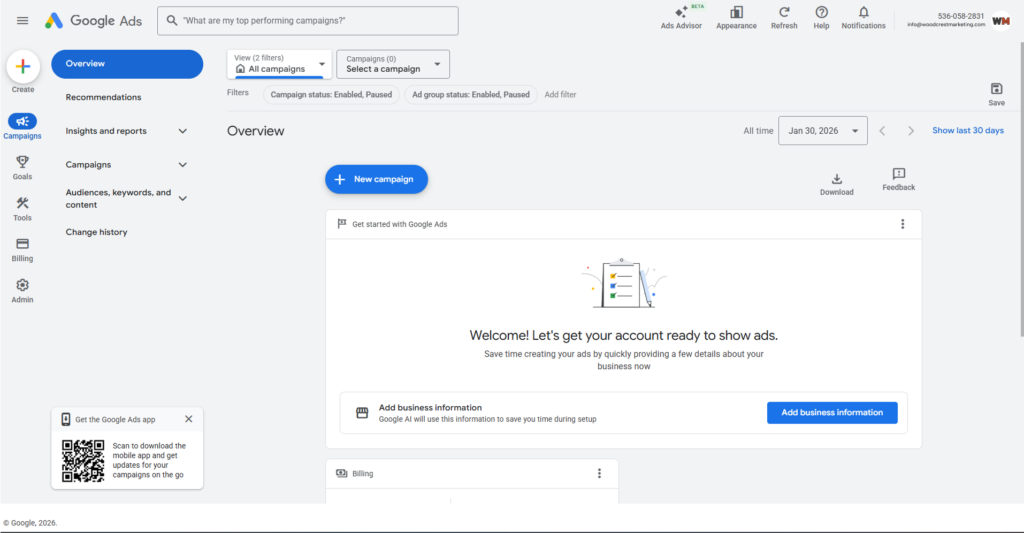
Step 9 - You will be taken to the main Google Ads Dashboard
Nothing is required of you at this step, but note the
billing section
near the bottom, as well as the
profile section
in the top right.
Move onto the next step.
Go Back
Next Step
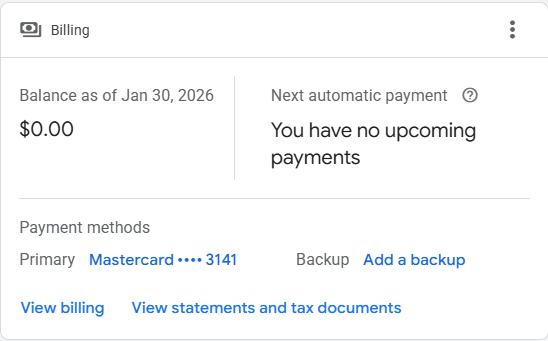
Step 10 - Add a backup payment method
In order for ads to run properly, you need to input a backup payment method now.
If you do not have a backup payment method, reach out to Indigo Media Solutions (
[email protected]
) to discuss options.
Go Back
Next Step
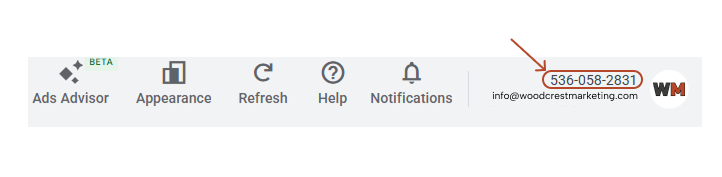
Step 11 - Account Number
In the
profile section
that we identified in step 9, you will see a 10 digit, phone number-looking number.
Send that number in an email to
[email protected]
We will send a request to manage your ad account. This request will come to the email inbox that you used to set up this account.
Once you accept it, we will begin setting up your campaigns and get your ads live ASAP.
Go Back
Next Step
Well Done!
We will be in touch shortly.
Go Back